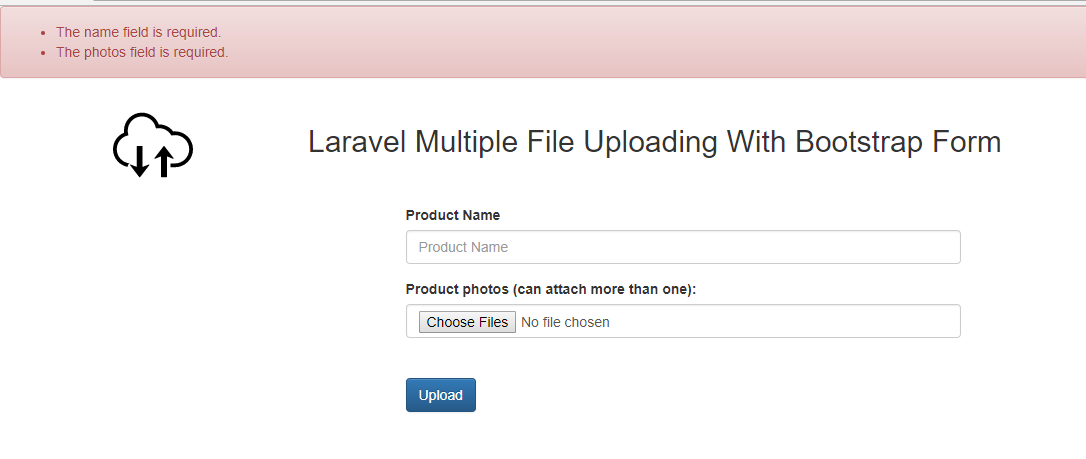
In Laravel, we can implement multiple image uploads using the built-in functionality and packages. Here’s a simple example using Laravel’s form handling and the popular package called Laravel Filesystem.
- Install Laravel Intervention Image Package:
You can use the Intervention Image package for image handling. Install it via Composer:
composer require intervention/image- Configure the Intervention Image Service Provider:
Add the following to your config/app.php:
'providers' => [
    // ...
    Intervention\Image\ImageServiceProvider::class,
],
'aliases' => [
    // ...
    'Image' => Intervention\Image\Facades\Image::class,
],
- Create a Model and Migration for Images:
Create a model and migration to store your images:
php artisan make:model Image -m
Then, in the migration file (create_images_table.php), add the necessary columns:
public function up()
{
    Schema::create('images', function (Blueprint $table) {
        $table->id();
        $table->string('filename');
        $table->timestamps();
    });
}
Run the migration:
php artisan migrateModify Your Form:
Update your form to include the multiple attribute on the file input:
<form action="{{ route('upload') }}" method="post" enctype="multipart/form-data">
    @csrf
    <input type="file" name="images[]" multiple>
    <button type="submit">Upload</button>
</form>
Controller Logic:
Handle the image upload in your controller:
use Illuminate\Http\Request;
use Intervention\Image\Facades\Image;

public function upload(Request $request)
{
    $request->validate([
        'images.*' => 'image|mimes:jpeg,png,jpg,gif|max:2048',
    ]);

    foreach ($request->file('images') as $image) {
        $filename = time() . '_' . $image->getClientOriginalName();
        $image->move(public_path('uploads'), $filename);

        Image::make(public_path('uploads') . '/' . $filename)->resize(300, 200)->save();

        // Save the filename to the database
        Image::create(['filename' => $filename]);
    }

    return redirect()->back()->with('success', 'Images uploaded successfully');
}
This example assumes that you have a folder named “uploads” in your public directory to store the images.
Display Images:
Retrieve and display the uploaded images in your view:
$images = Image::all();

foreach ($images as $image) {
    echo '<img src="/uploads/' . $image->filename . '" alt="Image">';
}
Remember to adjust the code based on your project structure and requirements. This example provides a basic setup for multiple image uploads in Laravel using the Intervention Image package.

