Introduction: Welcome to a comprehensive exploration of Laravel Middleware, a crucial component that empowers developers to intercept and customize HTTP requests in their web applications. In this blog post, we will demystify the concept of Laravel Middleware, cover its significance, and guide you through the process of creating, registering, and applying middleware. Let’s dive into the world of Laravel Middleware with practical examples to solidify your understanding.
1. Understanding Laravel Middleware
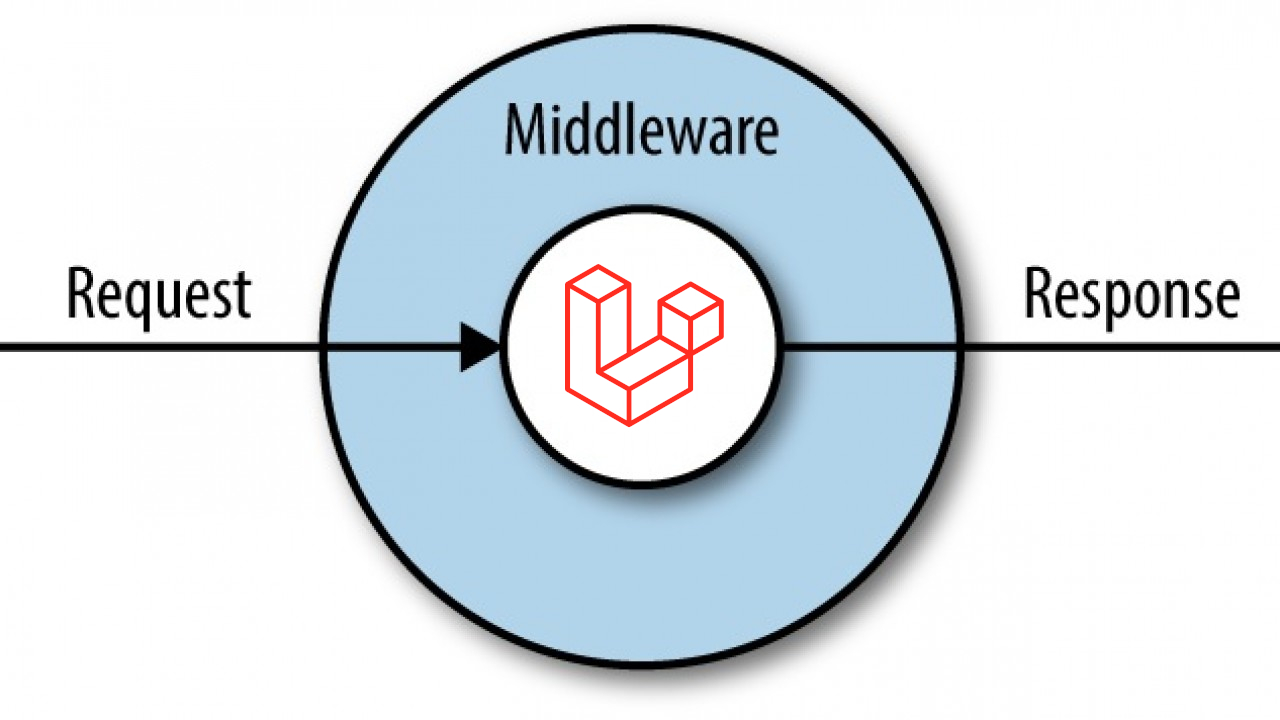
Middleware in Laravel plays a pivotal role in handling HTTP requests. It sits between the incoming request and the application’s final response, allowing developers to perform actions before and after the request is handled. To illustrate this concept, let’s create a custom middleware to check the user’s age:
# Create middleware via Artisan command
php artisan make:middleware CheckAge
This command generates a new middleware class located at App/Http/Middleware/CheckAge.php. Open this file and define the handle method:
// app/Http/Middleware/CheckAge.php
public function handle($request, Closure $next) {
    if ($request->age >= 18) {
        return $next($request);
    }

    return redirect('home');
}
In this example, the middleware checks if the user’s age is 18 or older. If so, the request is allowed to proceed; otherwise, the user is redirected to the home page.
2. Registering Middleware in Laravel
After creating middleware, it needs to be registered in the Kernel.php file. Open app/Http/Kernel.php and add your middleware to the $routeMiddleware array:
// app/Http/Kernel.php
protected $routeMiddleware = [
    // Other middleware entries
    'checkAge' => \App\Http\Middleware\CheckAge::class,
];
Now, Laravel recognizes the checkAge middleware.
3. Applying Middleware to Routes
Middleware can be applied to specific routes or groups of routes. Open your routes file (usually web.php in the routes folder) and apply the checkAge middleware to a route:
// routes/web.php
Route::get('/restricted-content', function () {
    // Your restricted content logic here
})->middleware('checkAge');
Now, the CheckAge middleware will be executed before the user can access the restricted content.
4. Creating Global Middleware via Artisan
Laravel provides an Artisan command to generate global middleware. Run the following command:
# Create global middleware via Artisan command
php artisan make:middleware CustomGlobalMiddleware
Now, you can find the generated middleware in App/Http/Middleware/CustomGlobalMiddleware.php. To make it global, add it to the $middleware array in the Kernel.php file:
// app/Http/Kernel.php
protected $middleware = [
    // Other middleware entries
    \App\Http\Middleware\CustomGlobalMiddleware::class,
];
This middleware will be applied to every HTTP request in your Laravel application.
Conclusion:
Congratulations! You’ve mastered the art of Laravel Middleware. By creating, registering, and applying middleware, you’ve gained a powerful tool to customize the behavior of your web application. Experiment with different middleware scenarios, explore built-in middleware options, and enhance the security and functionality of your Laravel projects. Middleware is a key aspect of crafting robust and secure Laravel applications. Happy coding!
For more info : https://laravel.com/docs/10.x/middleware
You can also check out : Role-Based Access Control (RBAC) in Laravel with Example

